
Always know what to wear: match clothes in a digital outfit planner
I’ve been a personal fashion stylist for long enough to let you in on a little secret that works. Fashion matching is the easiest thing you can do to get rid of the nothing-to-wear problem. Even if you have your fashion style well-defined, a visual wardrobe planner can show you the options you have for your personal style that day.
So, how do you get started with your outfit planning?
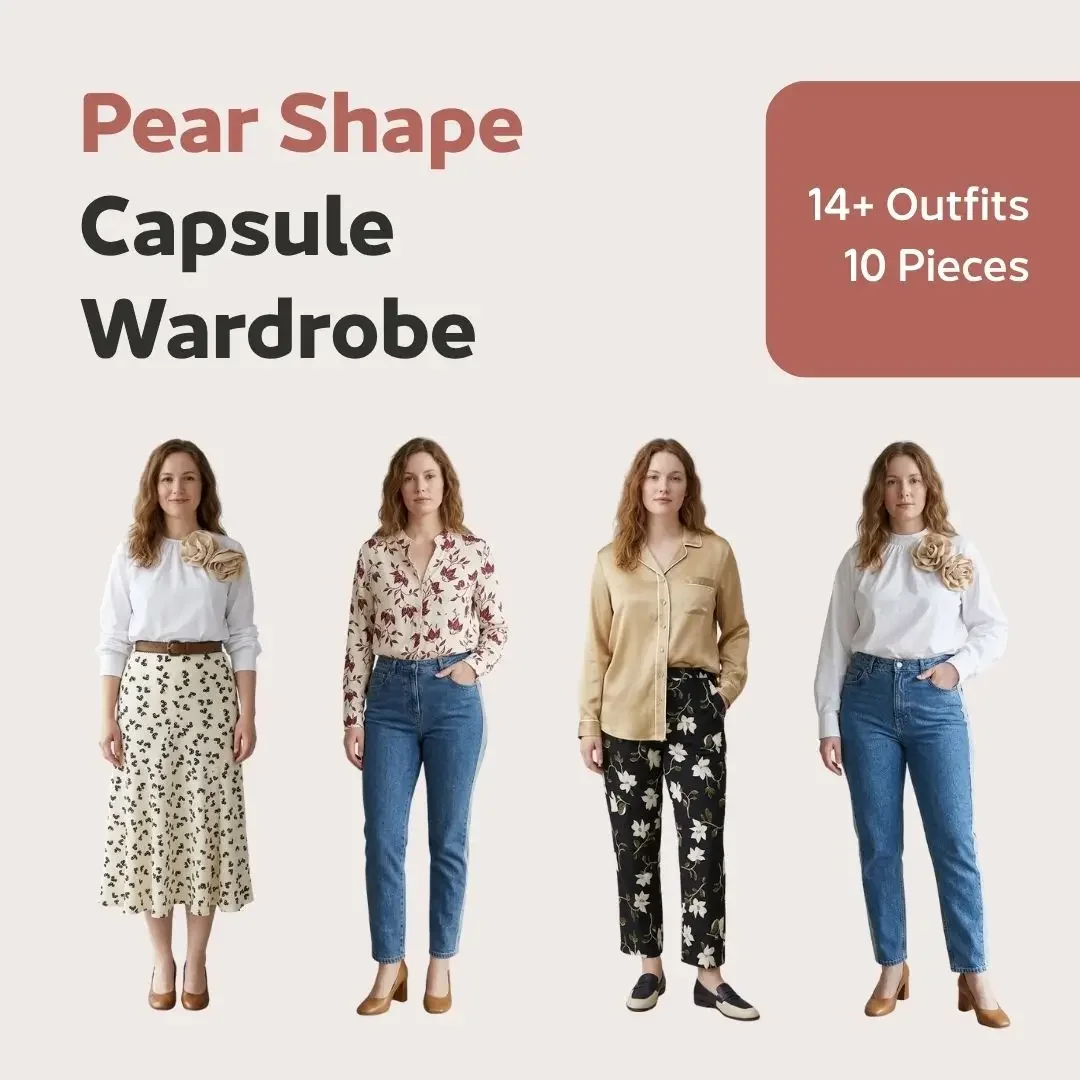
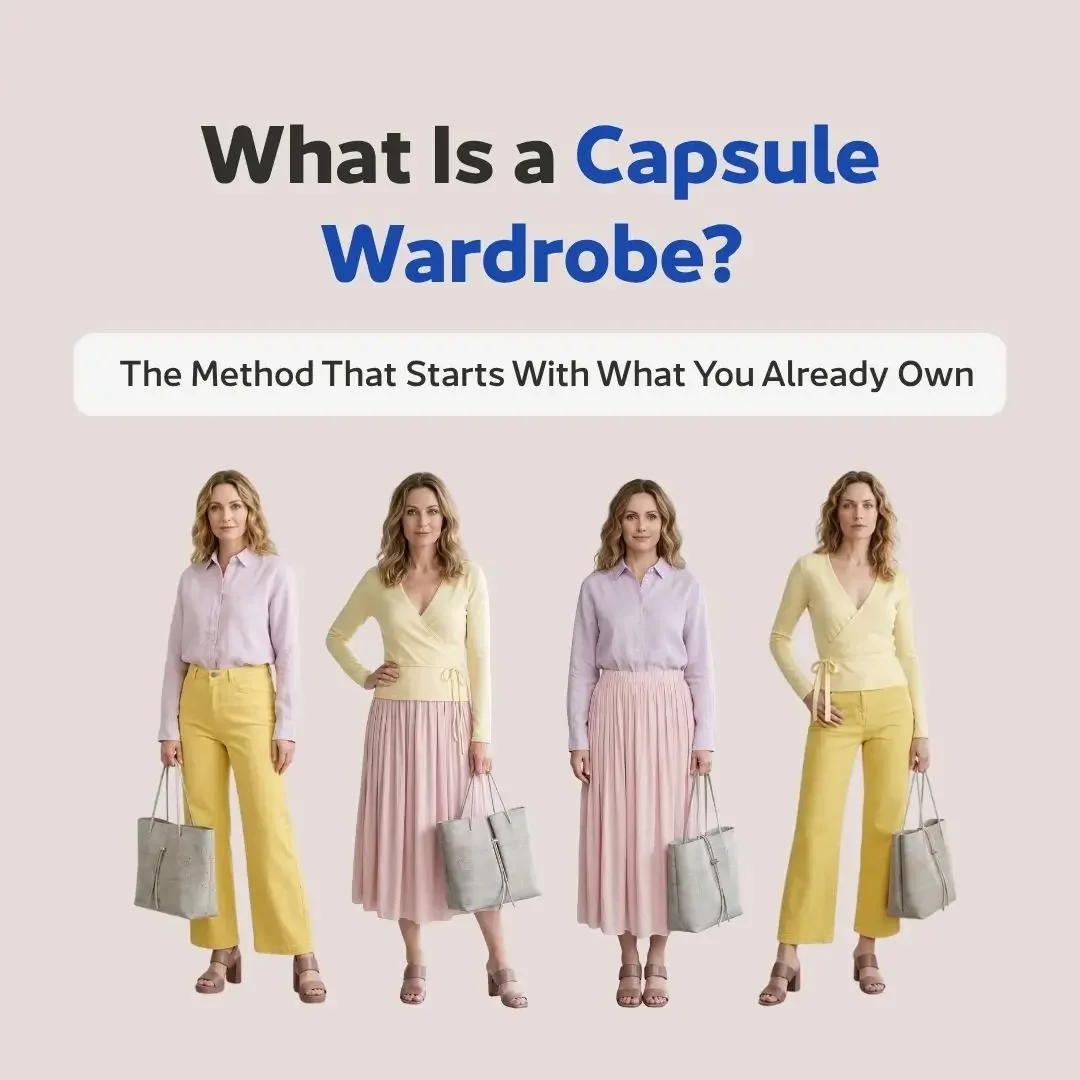
This simple method will give you plenty of outfit ideas when done right. A visual outfit planner can also be the easiest way to start your first capsule wardrobe. It works like a fashion mood board but with a twist. If you’re careful enough - and I’ll show you how - outfit planning can slowly integrate new clothes, vintage clothes in such a way that you dress for less.
Step 1. Clothing selection
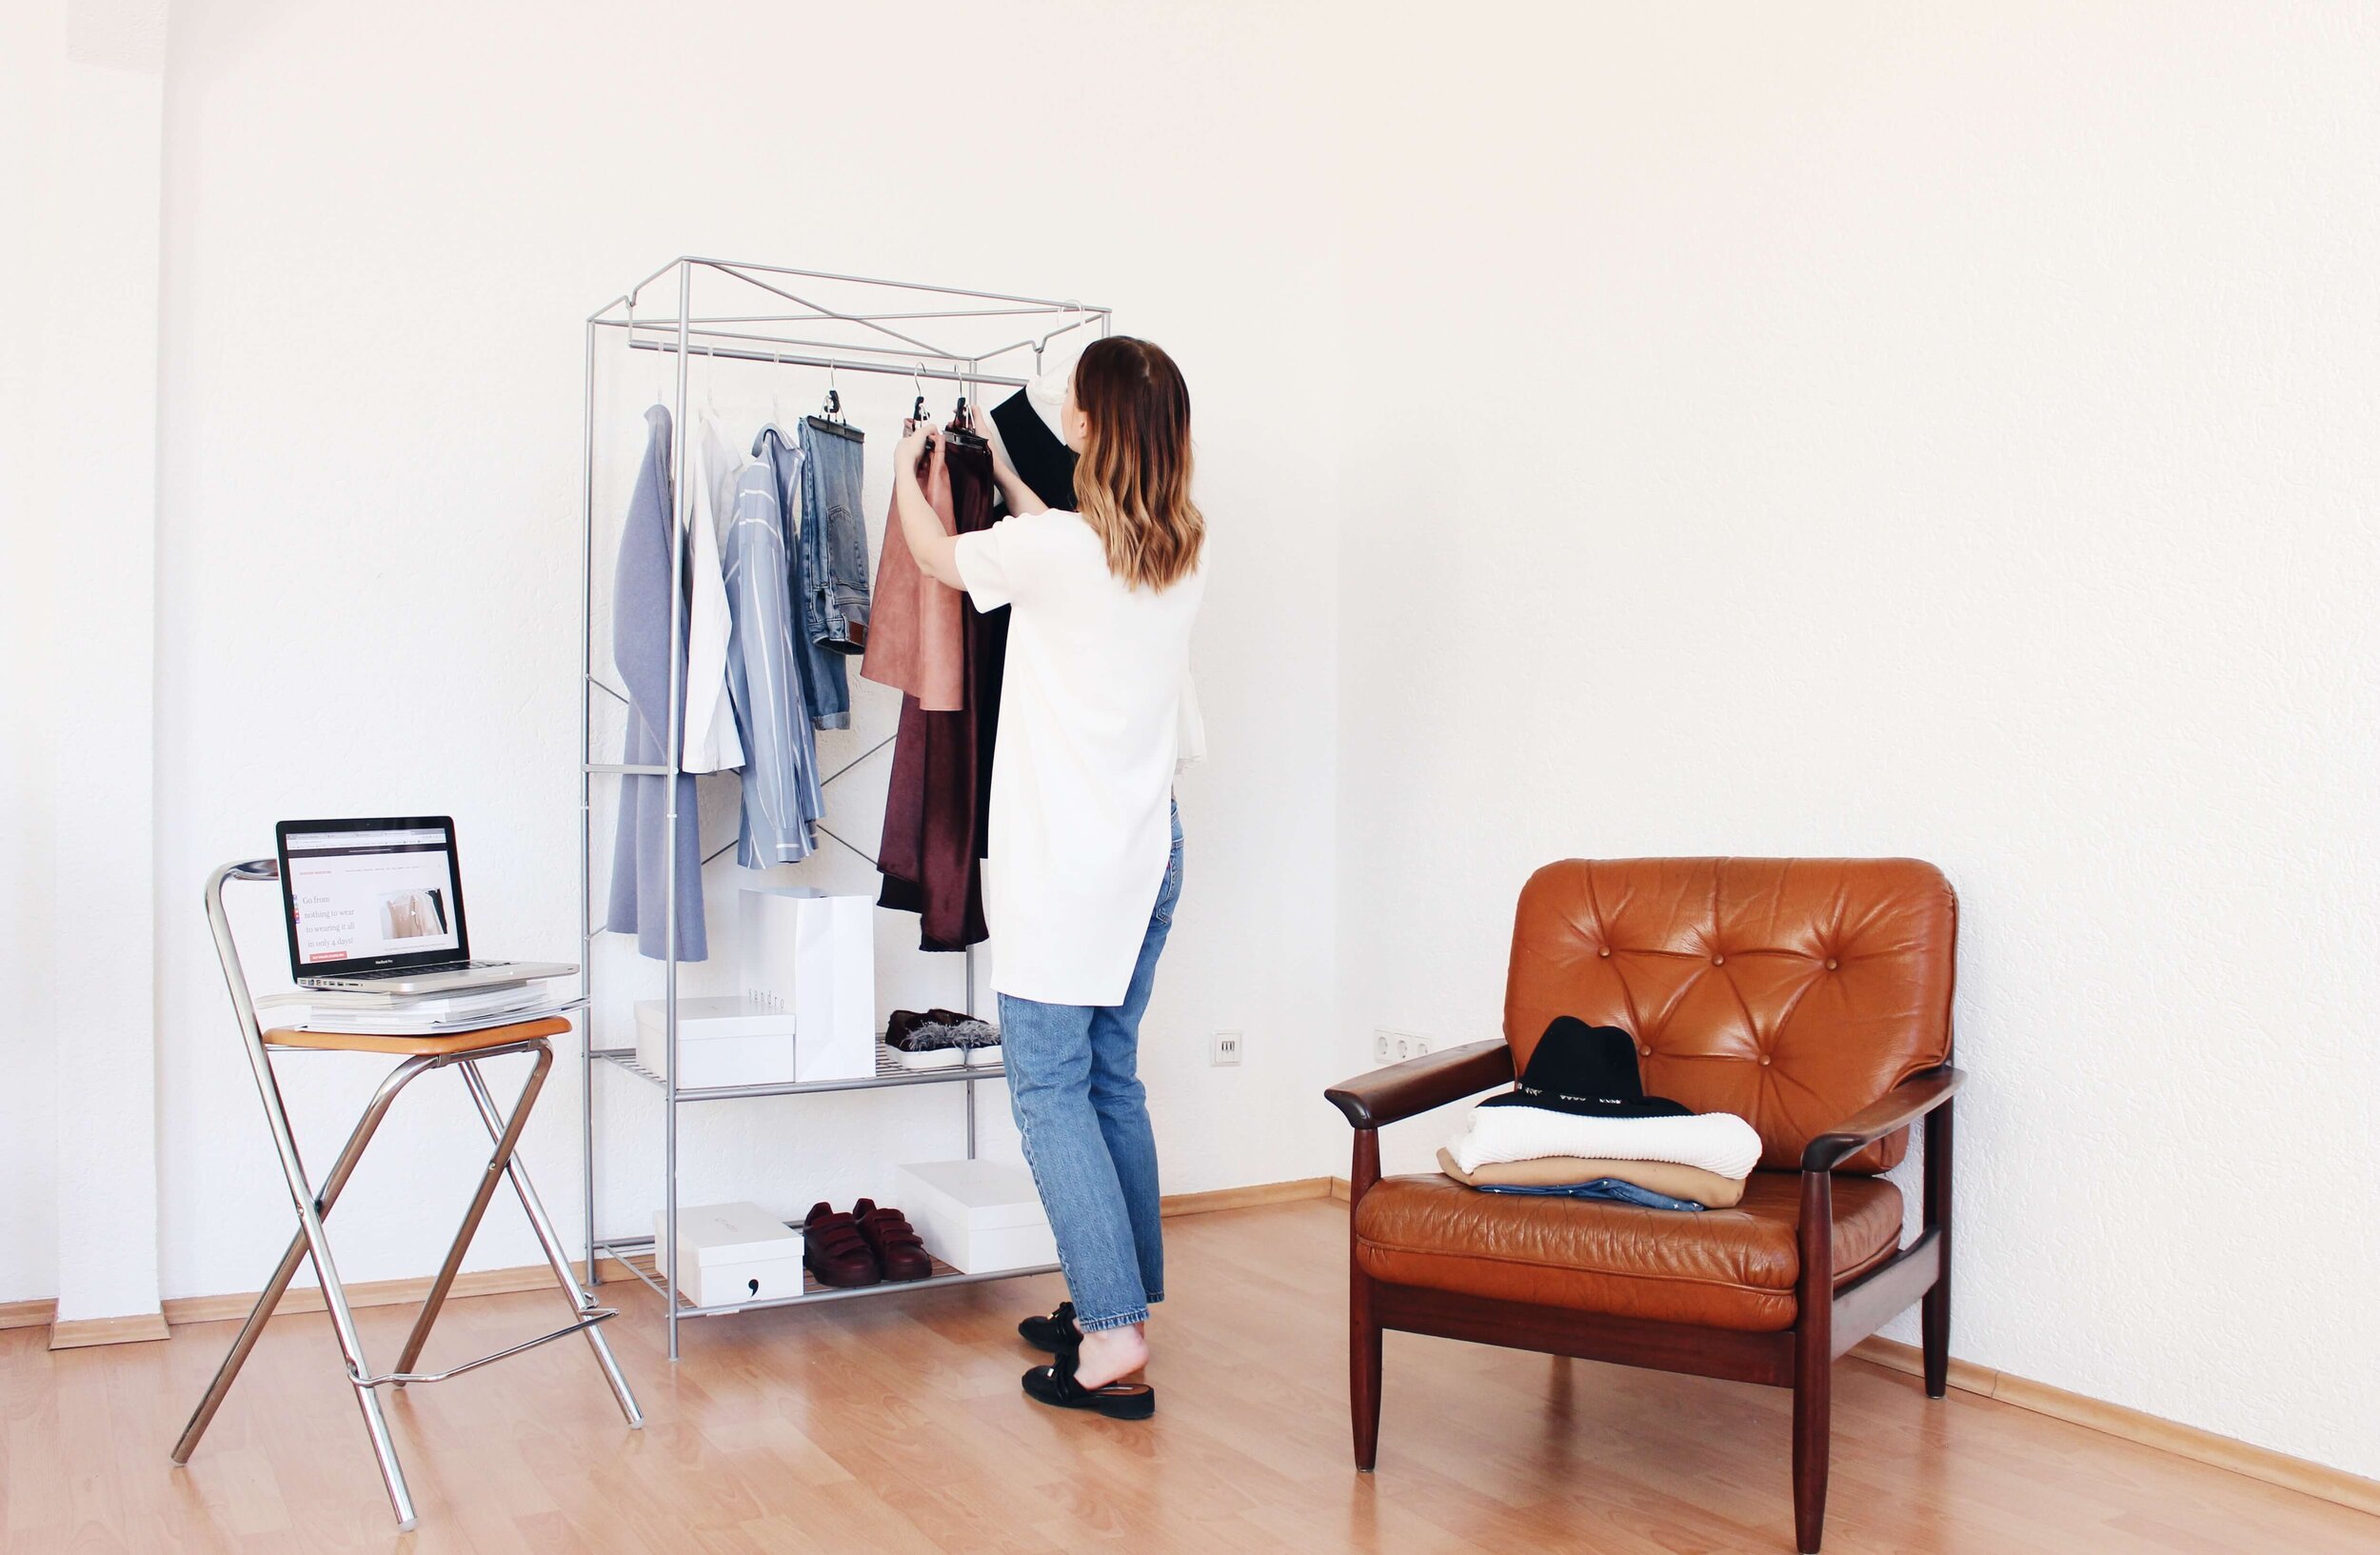
Decide what clothes, shoes and bags from your wardrobe you want to include in your new seasonal wardrobe. Right now you don’t have to think about what outfits you can make with them, just choose all the things you’ll be excited to wear in the near future. It can be just 5 items, or 10, or 20, basically, there is no limit. Just make sure they are clean, ironed and ready to be photographed.
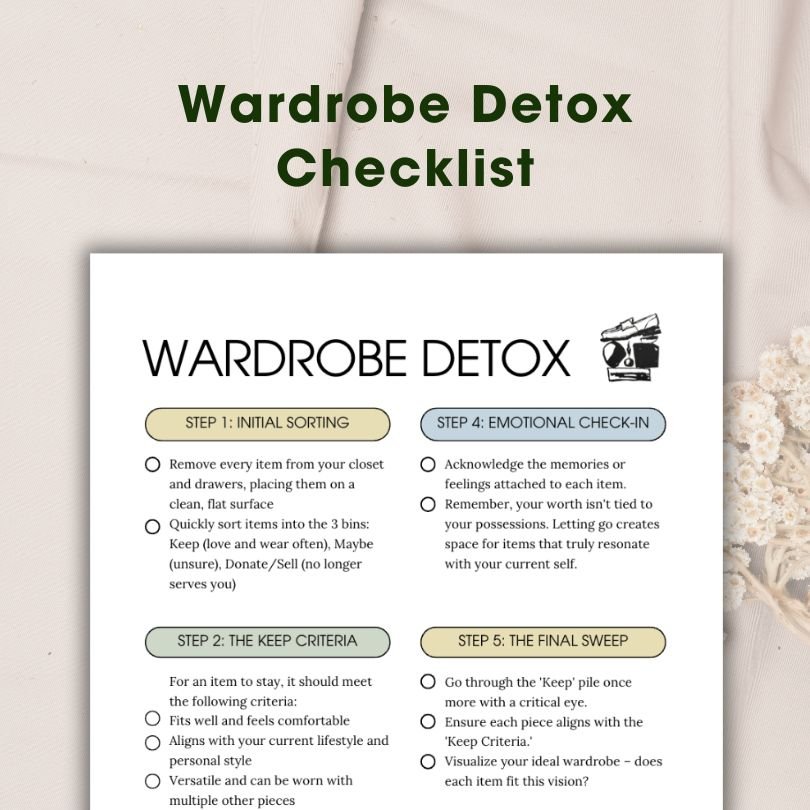
Wardrobe Detox Checklist: Revitalize Your Style!
This checklist will guide you step by step, ensuring you keep only the pieces that truly add value to your life and style.
Step 2. Shooting

Get similar tips and advice in your email. Subscribe to our weekly newsletter.
Make sure that you have good natural light close by before you start taking pictures for your digital outfit planner. The best way is to shoot in front of a window. This is very important because if you shoot in a dark room, the color of your clothes will come out wrong and your outfit planner won’t be so helpful. Also, the light shouldn't be too strong. You will know the light is too strong when you see sunspots on the floor or the wall. It can make your picture look overexposed, and all the colors will appear lighter than they are. So just wait until you get nice, soft light, and then start shooting.
I think it’s better to shoot items on the wall. You can use a small nail or some kind of a hook and hang your dress on it. This way you can see how clothes drape at the bottom - it’s quite important. As for the rest of the garments that don’t keep their shape, like knitwear or silk stuff you can simply shoot on the floor or the table, whatever you prefer. Save the best images in your outfit planner.
It’s better to have a white or light gray background. It will make the upcoming editing faster and easier. You can use a big sheet of white paper or some white cotton fabric, like bedsheets, as a background. I don’t have anything like that, but what I do have is a big white canvas.
Step 3. Editing Your Outfit Planner

Take a look at how our students create their digital wardrobe planners.
Now that I have all the photos, I can start editing. First of all, I will adjust the colours where needed. If I see that the item on the picture looks different than in reality, I would adjust the exposure, contrast, and saturation. I won’t use any filters.
After that I usually use Canva but there are some apps or free software that you can use for creating your digital outfit guide.
Here are some of them: Stylebook, Cladwell, Closet Space, Stylicious.
You can also use free programs on your computer like Word, Pages, PowerPoint, Keynote, or Canva to create your digital outfit guide. If you need more guidance the Wonder Wardrobe Studio+ provides 2 lessons with step-by-step instructions.
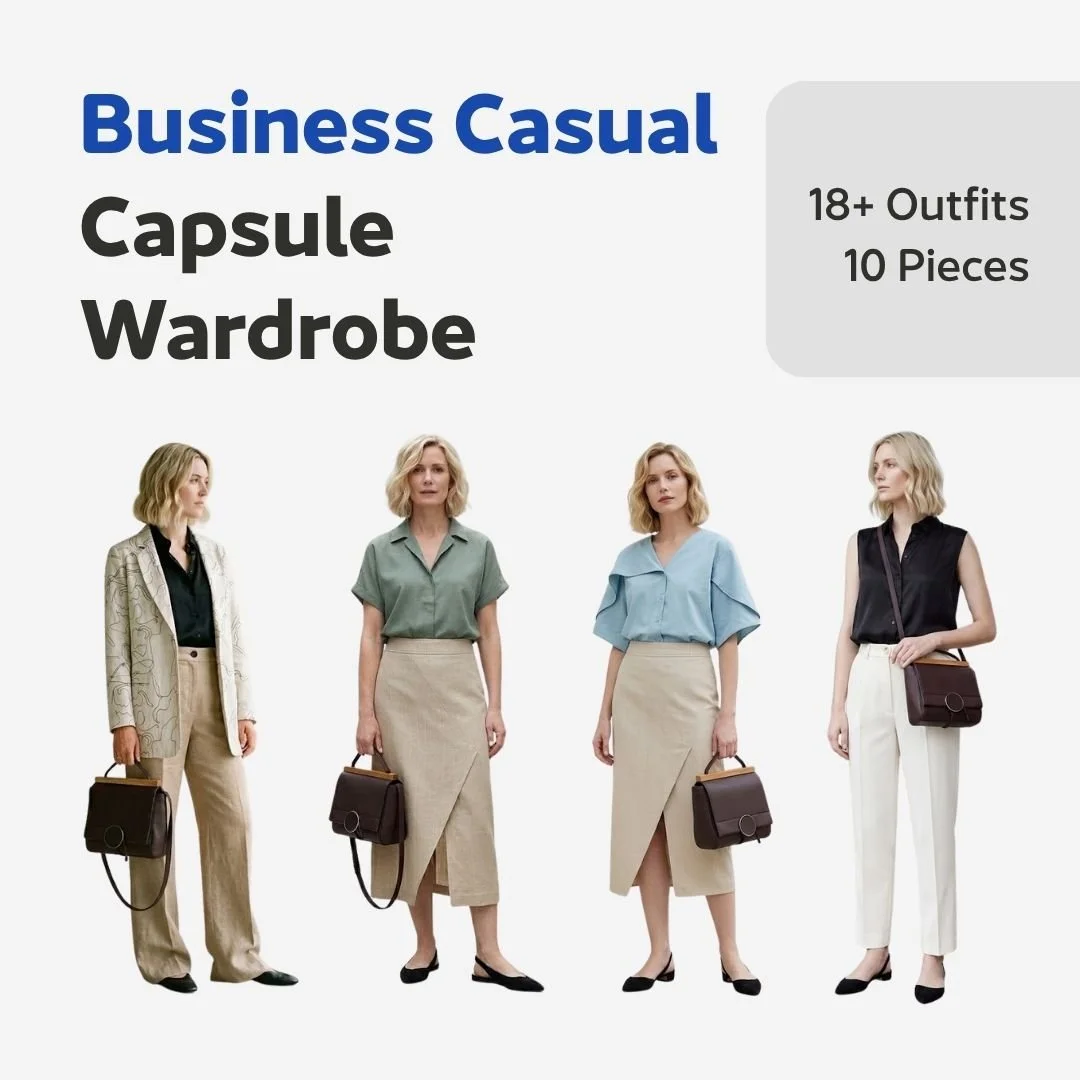
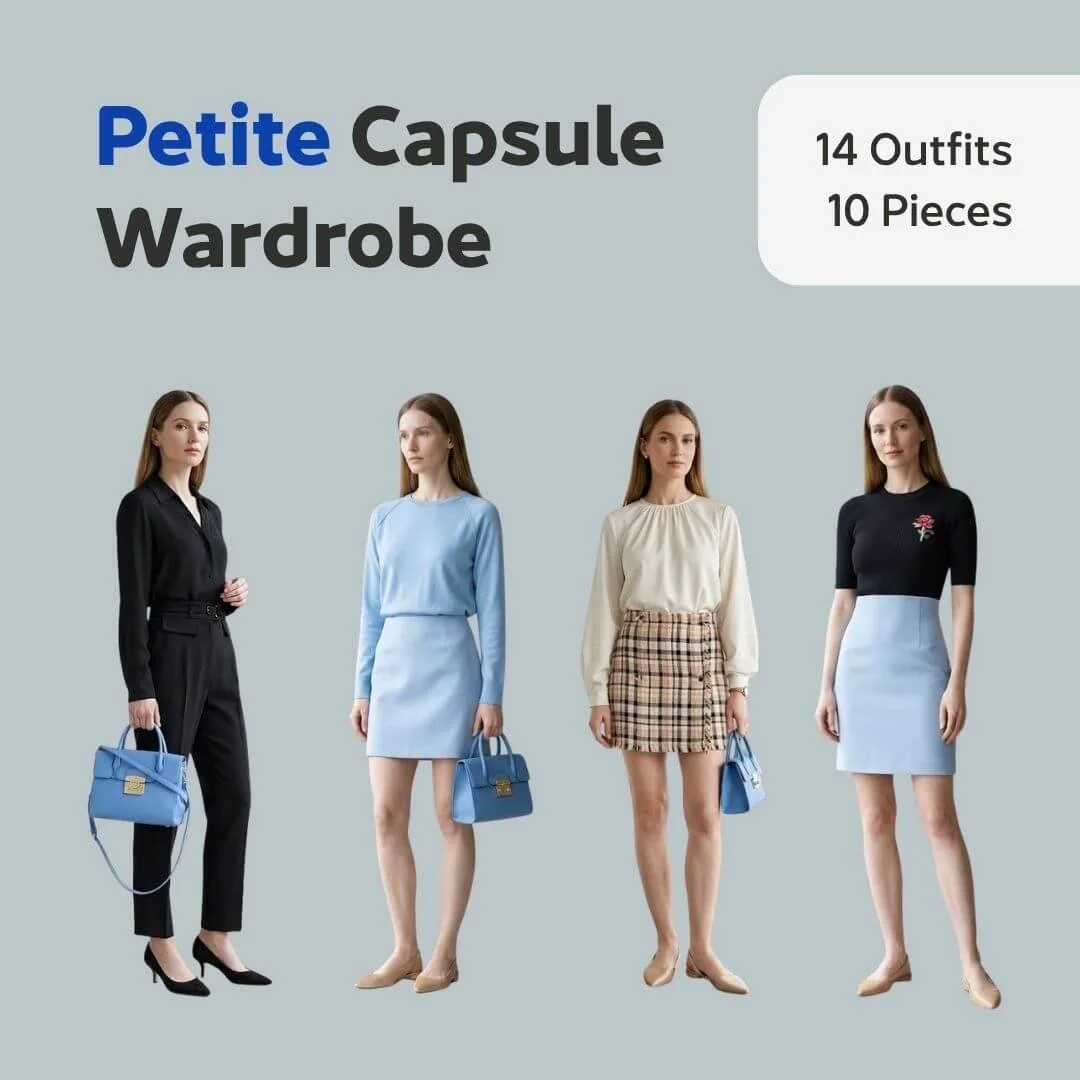
Once you have your digital wardrobe planner set up, you can easily see what outfits you can create and what is missing.
My Digital Wardrobe Planner for Winter Season 2024

RELATED ARTICLE: Create Your First Capsule Wardrobe: Pro Fashion Tips.

LET’S CHAT
Will you create an outfit guide for the season?
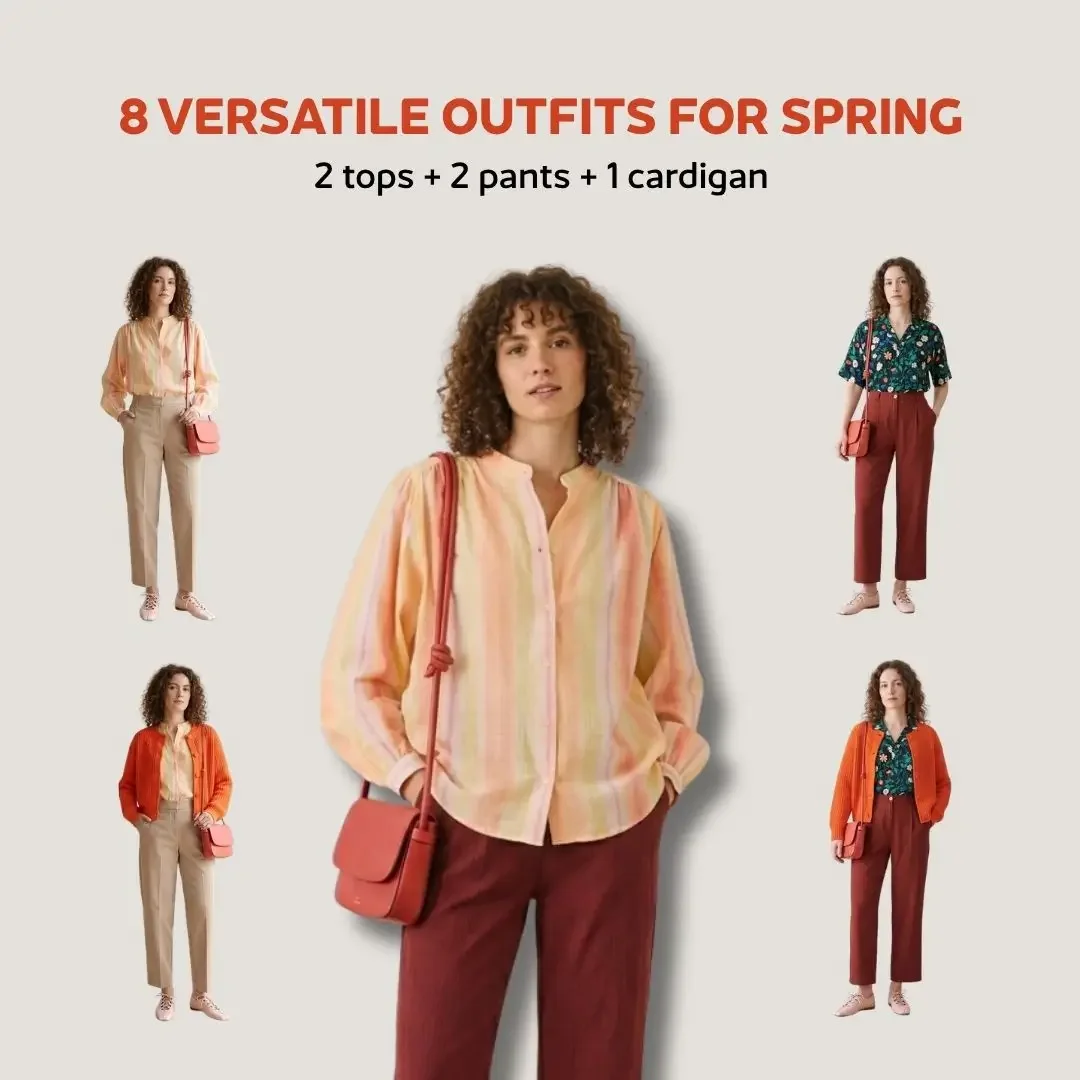


In this episode of the Art-to-Capsule series, I translated one Dalí painting into a wearable spring capsule wardrobe: 10 carefully chosen pieces that mix and match into 21 coordinated outfits.